
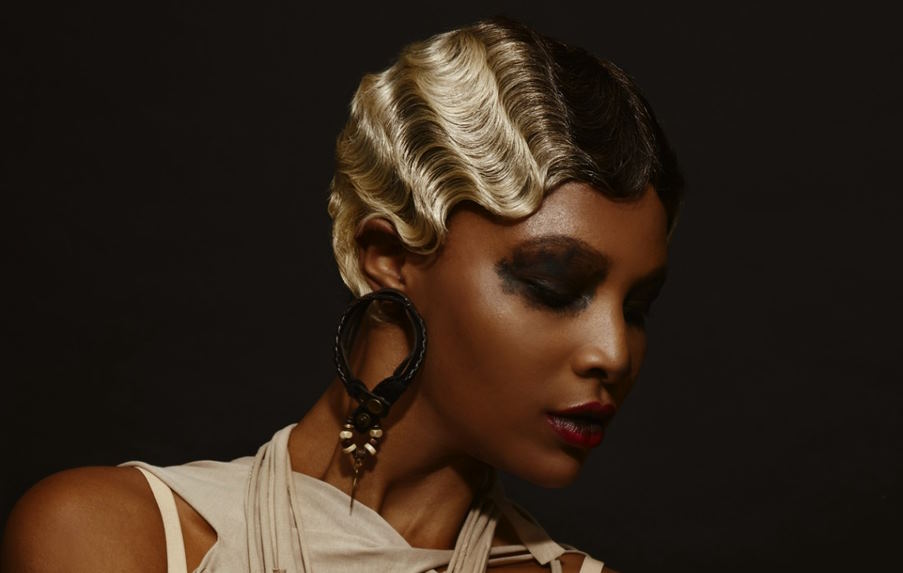
Take yourself back in time to the glamorous days of art deco, speakeasies, and flappers. Whether aiming for a vintage look or just looking to add some classic style to your hairdo, finger waves are the perfect way to achieve that 1920s aesthetic. These retro waves give off a chic vibe and an elegant curl that can be tailored to fit different looks – from bold, visible curls to subtle softness. In this blog post, we look at how you can recreate this iconic hairstyle by taking inspiration from its heyday in the roaring 20s and creating the perfect finger wave style with ease!
Tutorial – how to create a classic finger wave hairstyle in 5 simple steps
 Step 1: Wash and blow dry your hair. Before you begin styling, ensure your hair is clean and product build-up-free. Apply a heat protectant to the hair and use a large round brush to smooth out any bumps or kinks in the hair shaft. Once fully dried, use a wide-toothed comb to create small sections of the hair for easier styling.
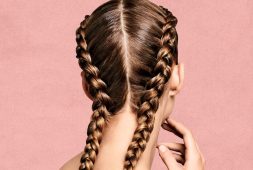
- Step 2: Part your hair in two equal halves from ear to ear. Comb each section flat against your head. Then take one side of the part and create an S-shaped pattern by combing down one inch at a time towards your forehead, then up again towards the middle point, continuing this pattern until you reach the bottom of your hairline.
- Step 3: Pin the S-shaped pattern on the side with bobby pins to hold it in place. After securing, take a medium-sized curling iron and wrap small sections of the pinned area around it, holding for five to eight seconds before releasing. Repeat this same process until all sections have been curled.
- Step 4: Now move onto the other side of the part and repeat steps two and three; creating an S-wave then pinning it in place before curling each section. Secure the curl pattern by lightly spraying a light hold hairspray on both sides.
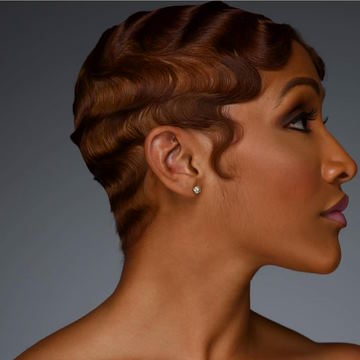
- Step 5: To finish off your classic finger wave style, brush out any lines or bumps created by the bobby pins and tease any remaining sections for added volume. Finish with a light mist of hairspray to keep your style in place all night.
And you’re done! Now you can show off your classic finger wave hairstyle wherever the night takes you. Enjoy!
Bonus Tip: Don’t be afraid to experiment with your look – add a few colored hair extensions or create a unique color pattern with highlights for an extra pop of fun! There are so many possibilities when it comes to styling finger waves, so don’t hesitate to try something new and exciting.
Set your hair with finger waves for a retro glam look
 You’ll need to set your hair in finger waves to achieve this look. Begin by wetting your hair thoroughly, then parting it into two sections. Using a rattail comb, create finger waves along each section’s roots, starting from the front and working back. Secure each newly created wave with a bobby pin for hold. Repeat this step until all of your hair is waved. You can use either mousse or gel to help set the waves in place before styling them further with a brush or curling iron if desired. Let your hair dry completely before removing the pins and enjoying your new vintage style! With some practice and patience, you can transform yourself into an old Hollywood glamour queen in no time.
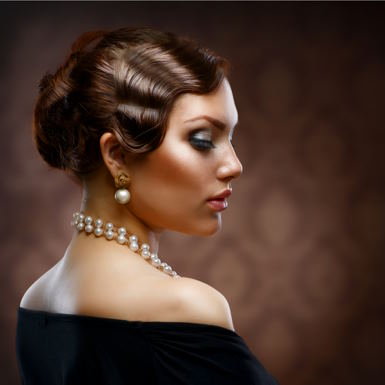
You can also accessorize your look with a pretty headband, barrette or clips for extra flair. Whatever you choose, finger waves are sure to add some old-world glamour to any ensemble. So the next time you’re looking for a fancy new style, why not try this classic look? You’ll be amazed at what you can come up with!
Recommended To You